

Posted by Impact Posters Gallery on 16th Dec 2015
5 Easy Steps to Laminate Posters
The poster lamination process coats paper in plastic to protect it from wrinkling and moisture damage. Consider the value of the poster you want to protect before laminating it, since covering it will reduce its value. You could always visit your local poster shop, but if you do decide to laminate one of your cool posters yourself, the task is simple and only takes a few minutes. Once done, hang it with poster tack instead of push pins so that you don't break the barrier.
- Plug the laminating machine into a wall plug and turn it on. The on and off switch is normally located in the front. A light comes on when you turn on the machine. It is either red or yellow, indicating that you should not use the machine; it is not hot enough.
- Adjust the dial for thickness if you have an adjustable temperature setting. The thicker the the picture or cool art being laminated, the hotter the coils need to be. With a poster, however, you don't need it too hot. Instead, set it at about medium.
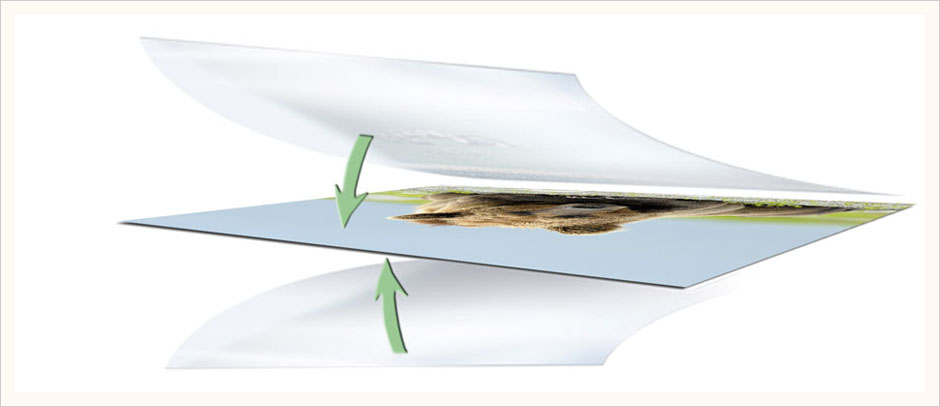
- Place the poster in the protective cover. This is a thick, almost cardboard-like folder.
- Insert the cover with the poster inside, into the front slot of the laminate machine, after the light turns green. Place the folded end of the cover into the machine first.
- Take the folder from the back of the machine as it comes out the other side. Open the cover and remove the laminated poster. Be careful since it might be too hot to touch for a few seconds.
Before you know it, you will have a perfectly laminate poster. Check out the wide range of posters at impactpostersgallery.com to start your next poster project!